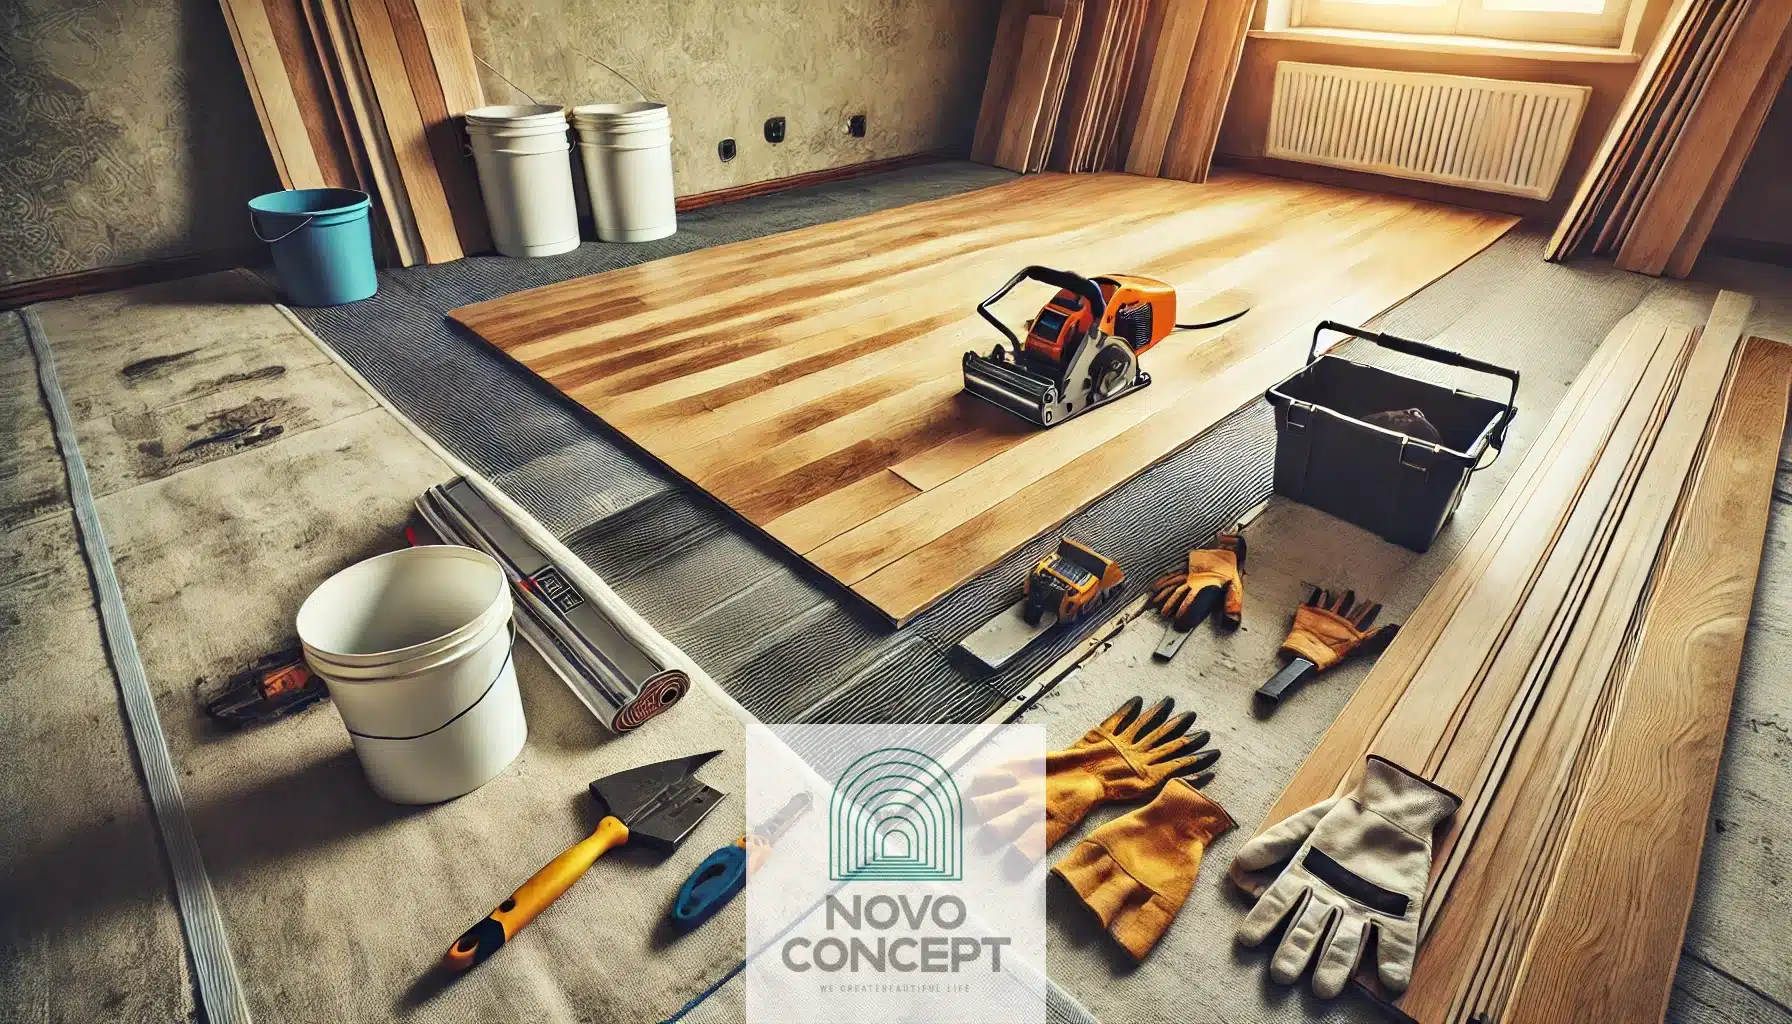
A new flooring installation can dramatically transform your home, enhancing its aesthetic appeal and functionality. However, proper preparation is essential to ensure the process is efficient and successful. This guide from Novo Concept provides step-by-step instructions to prepare your home, minimize disruptions, and achieve the best results. Let’s dive in!
Why Preparation for Flooring Installation is Important
Before the first plank or tile is laid, preparing your home is critical. Proper preparation:
- Ensures a smoother installation: Eliminates obstacles that might delay the process.
- Protects your belongings: Keeps furniture, decor, and other items safe from damage.
- Enhances results: Creates an ideal foundation for the flooring to last longer and look better.
Now that you know why preparation matters, let’s move into the steps to get your home ready.
Step 1: Clear the Space before Flooring Installation
Start by removing all furniture, rugs, and décor from the area where the flooring will be installed. This step creates an open and obstruction-free workspace for installers.
Items to Remove:
- Furniture: Chairs, tables, sofas, beds, etc.
- Rugs and mats
- Curtains, blinds, or window treatments
- Wall decorations: Mirrors, paintings, shelves, etc.
Tips for Clearing the Space:
- Use furniture sliders or dollies: These tools make it easier to move heavy items without causing damage to your floors or walls.
- Rent storage if needed: For larger furniture, consider renting a temporary storage unit.
Step 2: Empty Closets
If the flooring installation extends into closets, empty them entirely. Clearing out closets ensures the installers have unimpeded access to these areas.
How to Manage Closet Contents:
- Organize items: Use labeled bins or boxes to keep items organized.
- Find temporary storage: Relocate items to another room or a garage for easy access.
Step 3: Clean the Area before Flooring Installation
Before the installation begins, thoroughly clean the existing floor to remove dust, dirt, and debris.
Cleaning Tips:
- Vacuum and sweep: Remove loose debris.
- Mop if needed: Ensure the surface is free of sticky residues or stains.
- Assess old flooring: Some materials, like carpets or vinyl, may need to be removed entirely. Check with your installers to confirm whether tear-out is required.
DIY vs. Professional Tear-Out: While you can remove old flooring yourself to save costs, professional tear-out services ensure the subfloor is properly prepared.
Step 4: Arrange for Waste Disposal
If your project involves removing old flooring, plan how to handle the waste. Proper disposal ensures your home stays clean and clutter-free during installation.
Disposal Options:
- Rent a dumpster: Ideal for large-scale projects with significant debris.
- Coordinate with installers: Some companies include disposal services in their package.
- Check local regulations: Ensure you’re disposing of materials according to local waste management rules.
Step 5: Address Obstacles
Identify potential obstacles in the installation area and communicate them with your contractors in advance.
Examples of Obstacles:
- Uneven surfaces or subfloor issues
- Areas requiring special attention (e.g., tight corners, stairs)
- Door clearance issues
Pro Tip: Providing this information upfront helps installers plan and avoids unexpected delays.
Step 6: Ensure Adequate Ventilation
Flooring installation often involves adhesives, finishes, or materials that release fumes. Proper ventilation is critical to maintain air quality and safety.
Ventilation Tips:
- Open windows: Allow fresh air to circulate.
- Use fans: Position fans to help direct fumes out of the home.
- Plan ahead: If adhesives or sealants are being used, keep your family and pets away from the installation area.
Step 7: Secure Pets before Flooring Installation
Pets can interfere with the installation process and may be at risk during the project. Take steps to keep them safe and out of the way.
How to Secure Pets:
- Designate a pet-safe area: Confine pets to a different room or section of the house.
- Consider temporary relocation: For extensive projects, boarding pets with a friend, family member, or pet care facility may be the best option.
Step 8: Discuss Access with Installers
Ensure your installers have easy access to your home and the installation area.
Access Considerations:
- Clear pathways: Remove outdoor obstacles leading to the entryway.
- Provide parking: Reserve space close to your home for the installers’ vehicles.
- Communicate building restrictions: If you live in an apartment or gated community, inform installers about entry rules or elevator access.
Step 9: Prepare for Noise and Dust
Flooring installation can be noisy and generate dust that spreads to other areas of your home. Being prepared can help minimize disruption.
Tips to Manage Noise and Dust:
- Seal off rooms: Use plastic sheeting to block off the work area.
- Cover nearby items: Protect furniture and electronics in adjacent rooms with drop cloths.
- Schedule work wisely: Avoid scheduling other home activities or meetings during peak installation times.
Step 10: Post Flooring Installation Tips
Once the flooring is installed, take steps to maintain its quality and address any final concerns.
Post-Installation Checklist:
- Inspect the flooring: Check for any defects or issues with the installation.
- Ask for maintenance tips: Request care instructions from the installer for your specific flooring type.
- Clean the area: Vacuum or sweep to remove any leftover dust or debris.
- Rearrange furniture carefully: Use protective pads to avoid scratching the new floor.
Conclusion about Flooring Installation
Properly preparing your home for a new flooring installation ensures a smoother process and better results. By following these steps, you’ll create an ideal environment for installers to work efficiently while protecting your belongings and minimizing disruptions. Whether you’re upgrading to hardwood, tile, or carpet, thoughtful preparation is the key to a stunning new floor you’ll enjoy for years to come.


